0121 271 0221

How to Paint a Fireplace in 7 Simple Steps
Painting a fireplace is an incredibly easy and cost-effective way of instantly transforming your living room.
Whether you’ve got an open fireplace and surround, electric fire, gas fire, media wall or wood-burning stove, a lick of paint can uplift a room’s aesthetic and give it a fresh look and feel without launching into expensive renovations..
Simply painting your fireplace can completely change the focal point of the room for little more than the cost of a tin of paint. In this article, we’ll look at how to achieve this easy, affordable DIY project and give you a step-by-step guide on how to paint a fireplace.
What Materials Do I Need To Paint My Fireplace?
You’ll need just a handful of simple items before you start painting your fireplace. These are:
Paint
The obvious starting point is the paint itself. As well as choosing the right colour, make sure you also select a type of paint that is suitable for the surface you’re painting. For example, water-based or latex-based acrylic paint is best for brickwork, while heat-resistant paint will be needed for metal surfaces that are exposed to high temperatures.
Brushes
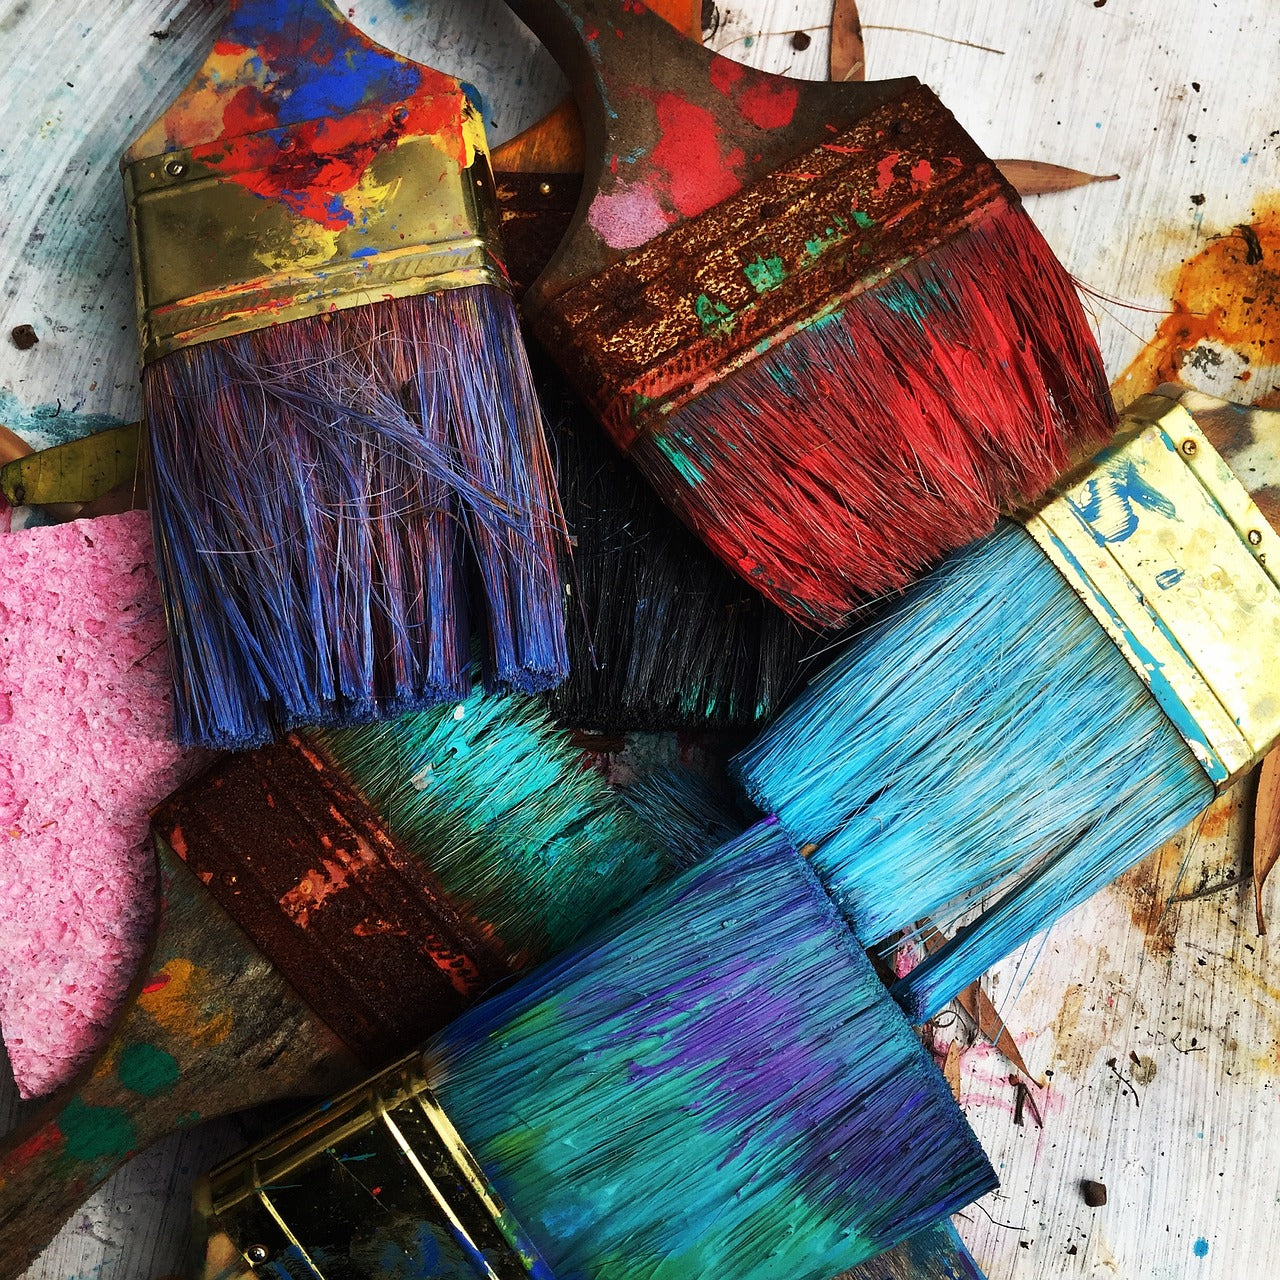
Depending on the surface areas you’re painting, you will need brushes or rollers of suitable sizes. If you’re painting a large surround or chimney breast, a large brush or roller will be suitable. You might need smaller brushes for cutting in and other intricate areas.
Drop cloths
Drop cloths are the painting and decorating version of dust sheets. All this means is having something on the hearth and floor around your fireplace that you don’t mind getting spattered with drops of paint.
Painter’s tape
Tape up the areas of the fireplace that you’re painting with painter’s tape to get a sharp finish and ensure you don’t inadvertently get paint on surrounding areas.
Protective gear
You could opt for full overalls or just some old, scruffy clothes that you’re happy to get paint over. Long-sleeved tops and latex gloves can both save time that would otherwise be spent cleaning paint off yourself later.
7 Simple Steps to Paint Your Fireplace
Once you’ve got your materials and equipment ready, you can start painting. Just follow these very straightforward steps:
1. Prepare the fireplace area
Get the fireplace ready to paint. This will include taping up the edges of the area you’re going to be painting, putting your drop cloths on the floor and dusting to get rid of anything on the surface that could impact the finish.
2. Prime the surface (if necessary)
You might need to apply a primer before starting to paint in your chosen colour. This will be particularly important if you’re moving from a dark colour to a lighter shade or painting over multiple colours or an uneven finish.
3. Apply first coat
You’re now ready to apply the first coat of your chosen paint. If you haven’t previously tried a sample pot, you might want to do a small test patch before painting the entire fireplace. When you’re happy to go ahead, you can paint the full first coat. Once you’ve finished, wrap the bristle of the paintbrush or the roller in cling film or a tied plastic bag to prevent it from hardening before the next coat.
4. Allow the paint to fully dry
Next, wait while the first coat dries completely. This helps give you a better idea of what the finished colour looks like and what sort of coverage the first coat has achieved. But more importantly, rushing into a second coat before the first coat has dried properly can cause uneven finishes, smudging or air bubbles, and may cause the paint to flake away.
5. Apply additional coats
Once the first coat is completely dry, you can add a second coat. Follow exactly the same process as for the first coat. Once again, wait until the paint is completely dry. You can then assess the coverage and depth of the colour before deciding whether any more coats are needed.
6. Final touches
Once you’re happy with the number of coats and the look of your fireplace, you can apply the final touches. This could include any small patches you’ve missed or any areas that need touching up once the painter’s tape has been removed.
7. Cleanup
Once the paint is dried after your final touches, you can start the cleanup. This will include tidying up the drop cloths, disposing of the paint tins (check with your local authority for recycling options in your area), and cleaning your paint brushes.
How to Make The Most of Your Newly Painted Fireplace
With the painting complete, you can now sit back and enjoy the refreshed look of your fireplace. To enhance the new-look fireplace, you could add decorative items such as log stores or colour-coordinated ornaments.
Keep the fireplace looking fresh for longer by gently washing it regularly and saving some spare paint to add touch-ups when needed.
If you’re ready to take the next step in your fireplace transformation, take a look at our online store to explore our collection of multi-fuel stoves, built-in electric fires and many other heating appliances.
